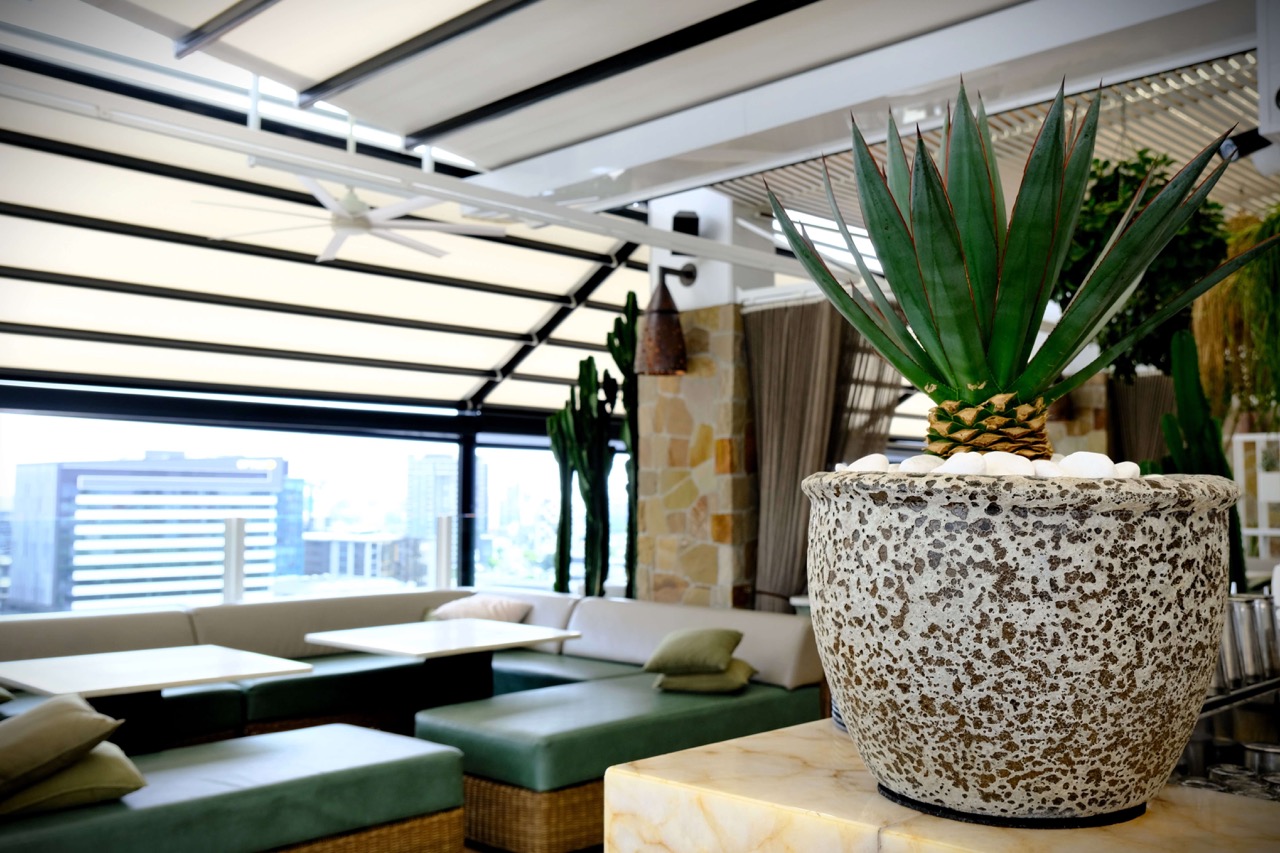
Elevating your living space with a collection of clustered pots and planter boxes involves more than just arranging planters—it’s crafting a living work of art. Whether your garden is sprawling or pocket-sized, the art of clustering can turn any space into a dynamic, stylish area that’s full of life and colour. This guide dives into the intricate details of planning, choosing, and arranging a delightful pot and planter display, helping you to create a statement that reflects your personal style and celebrates the beauty of nature.
Step 1: Selecting the Right Pots and Planter Boxes
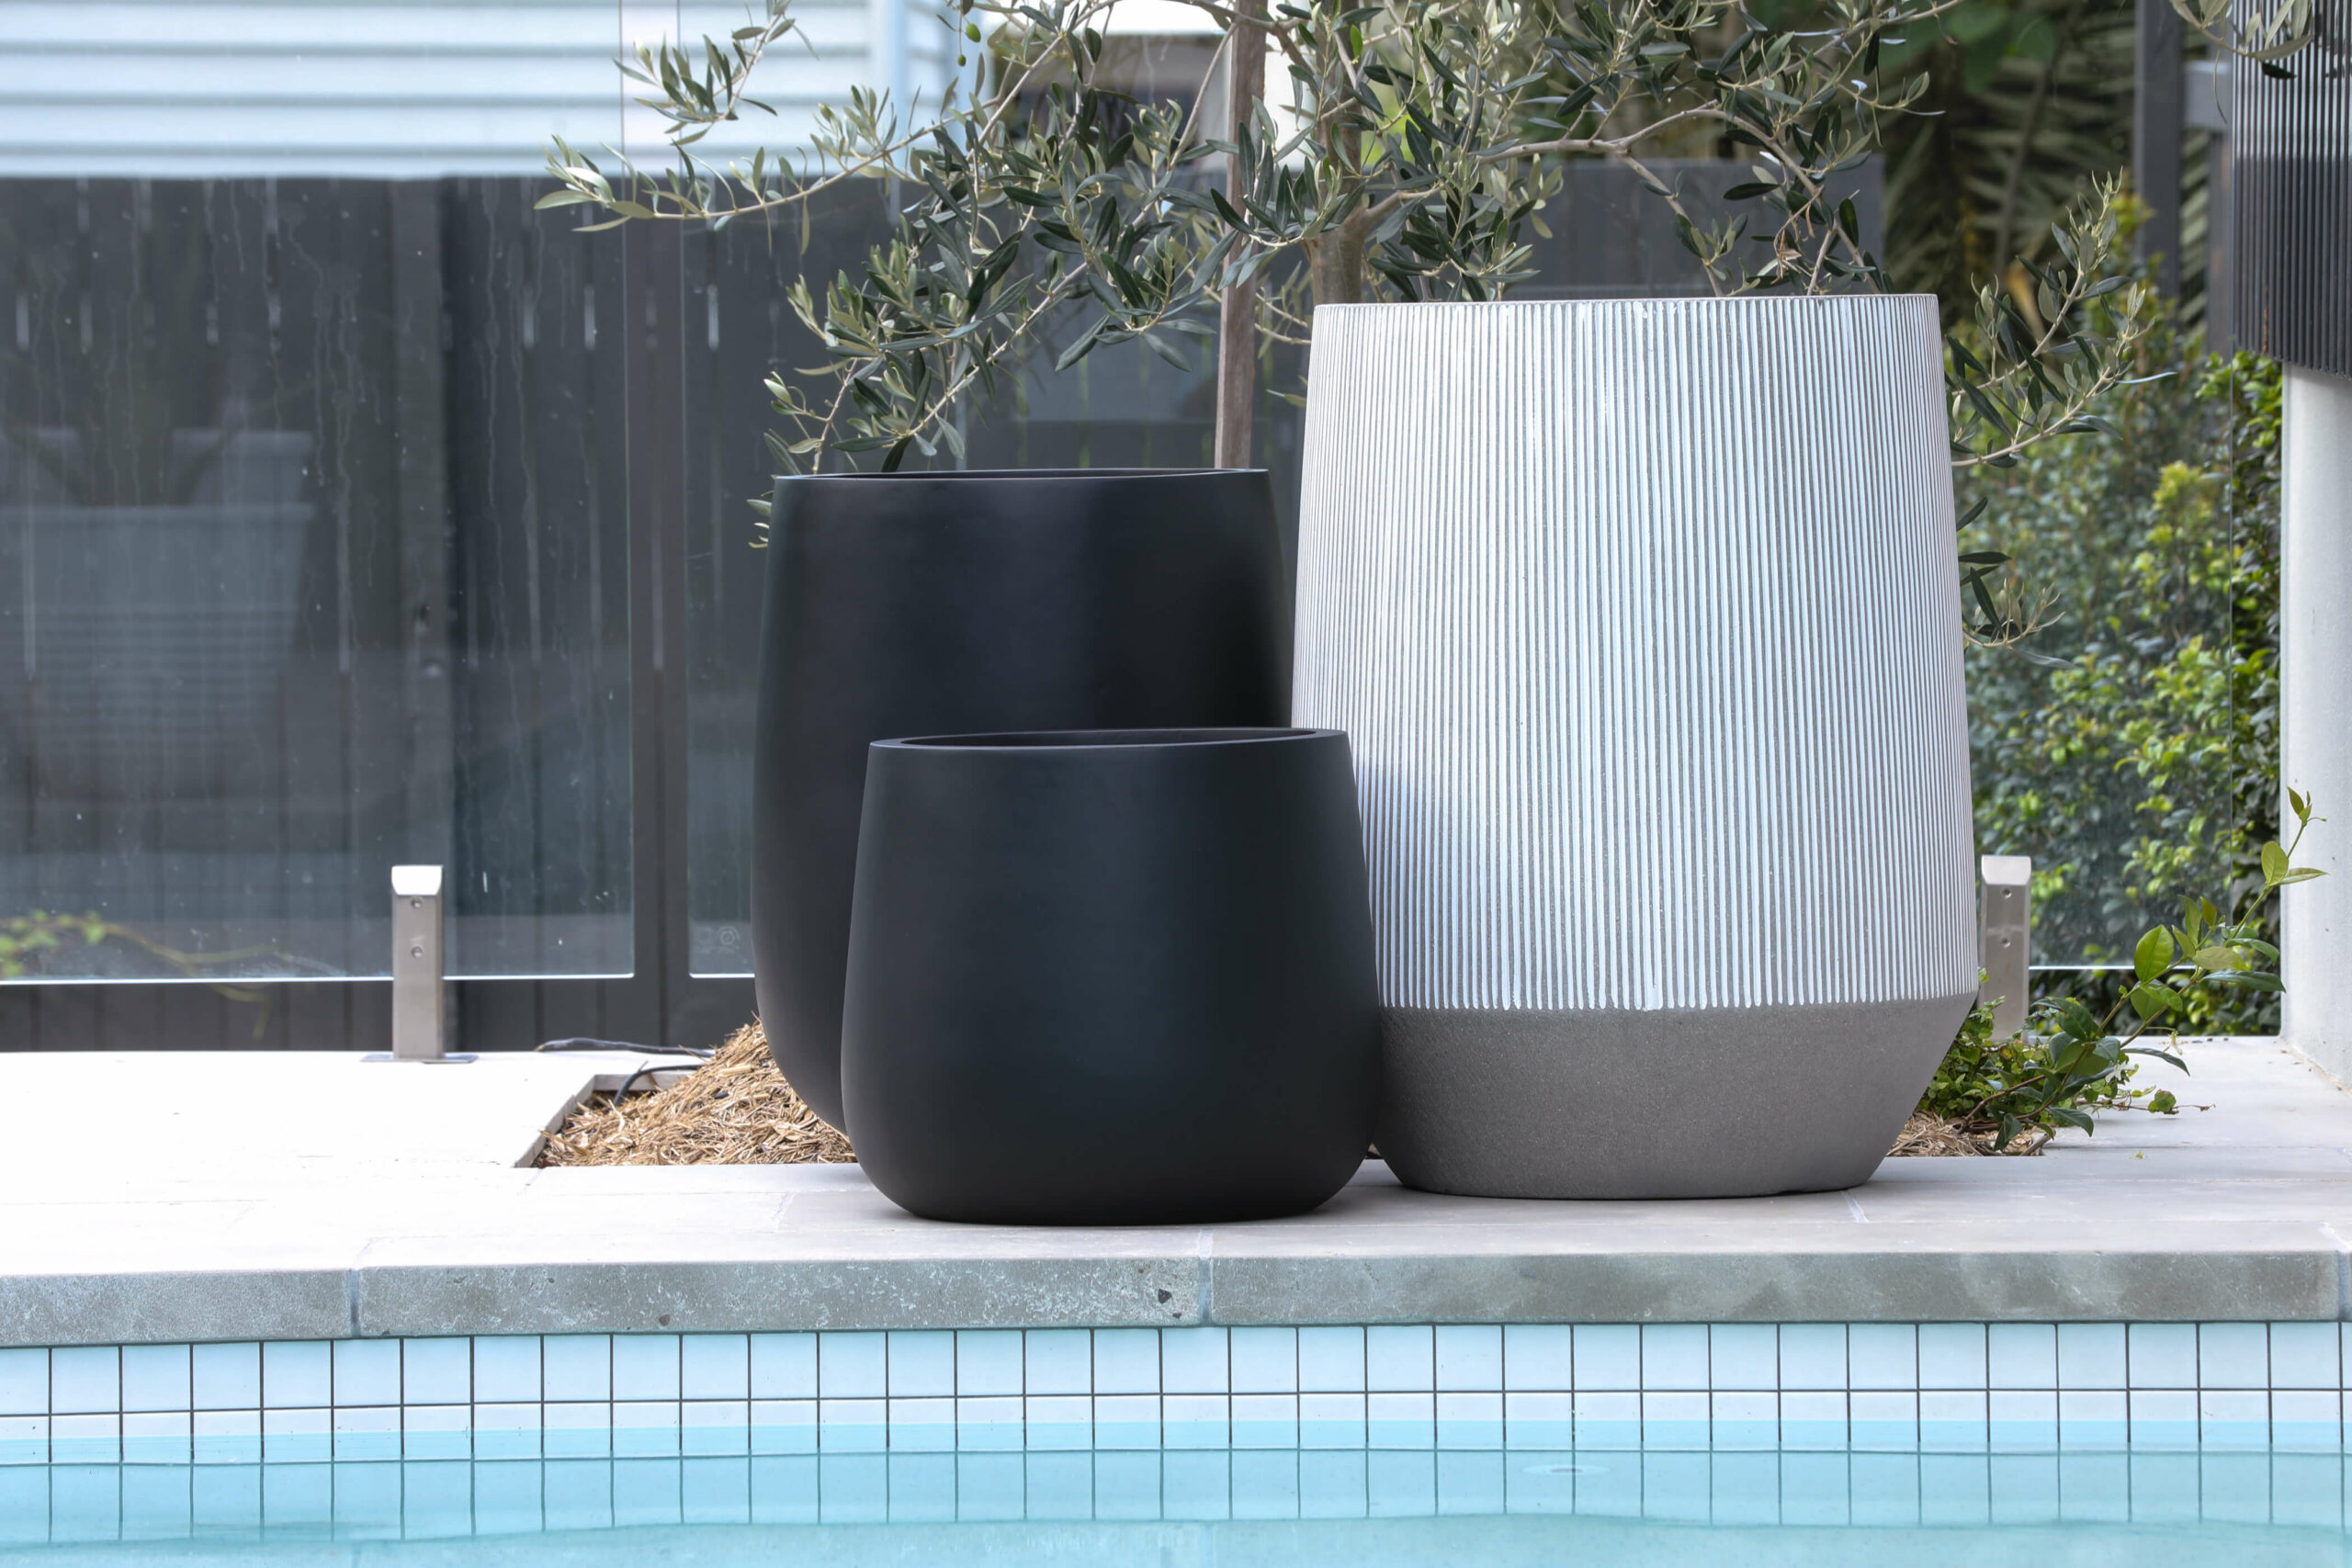
Consider the Size, Shape, and Material
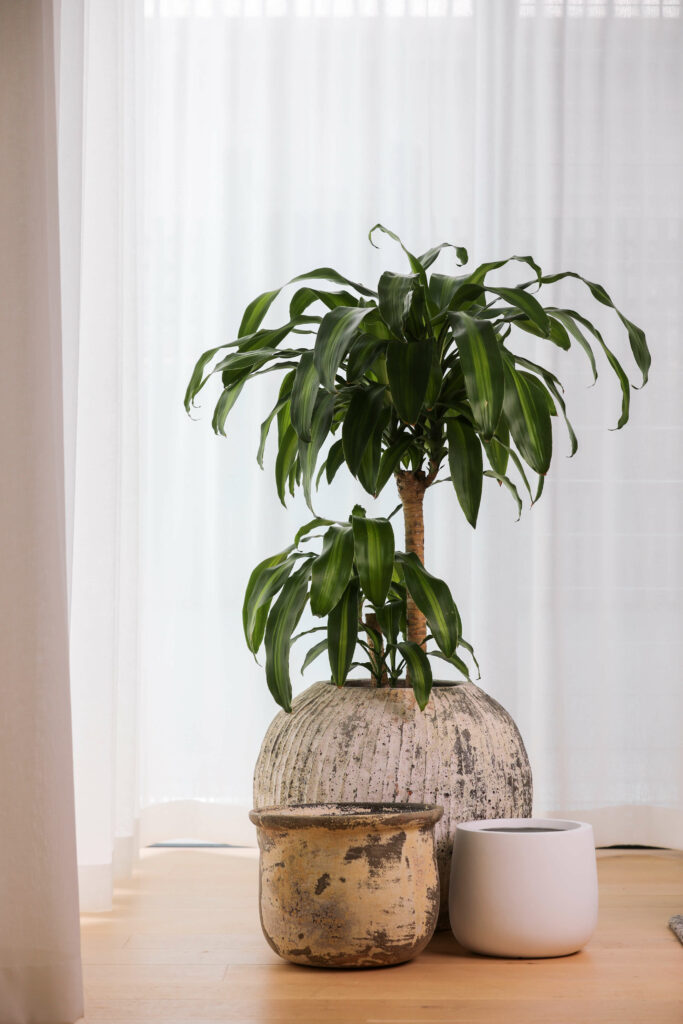
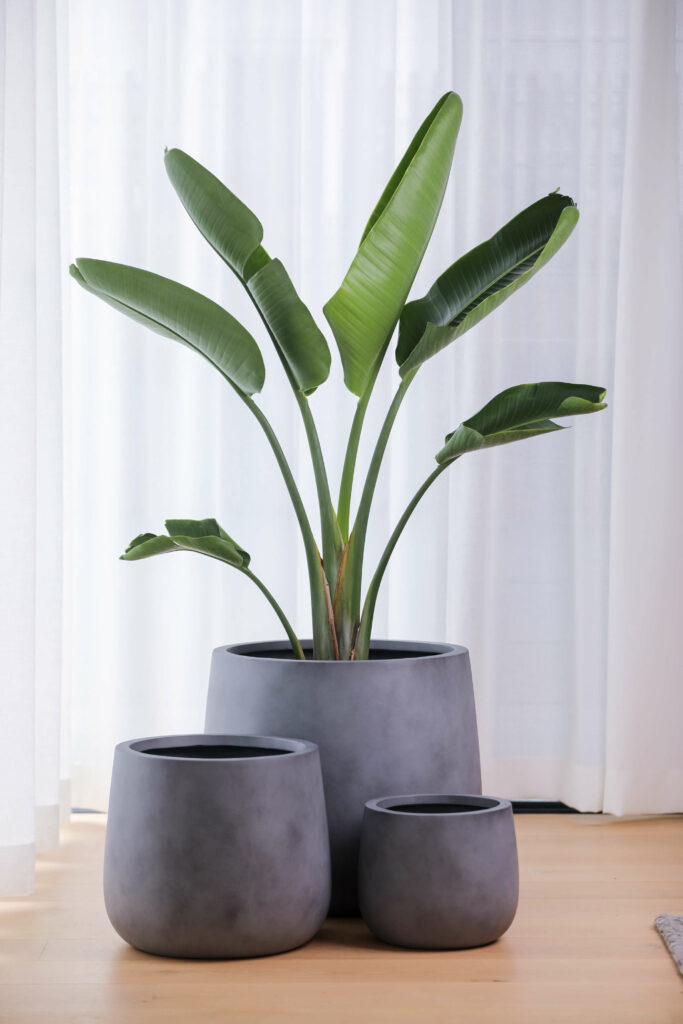
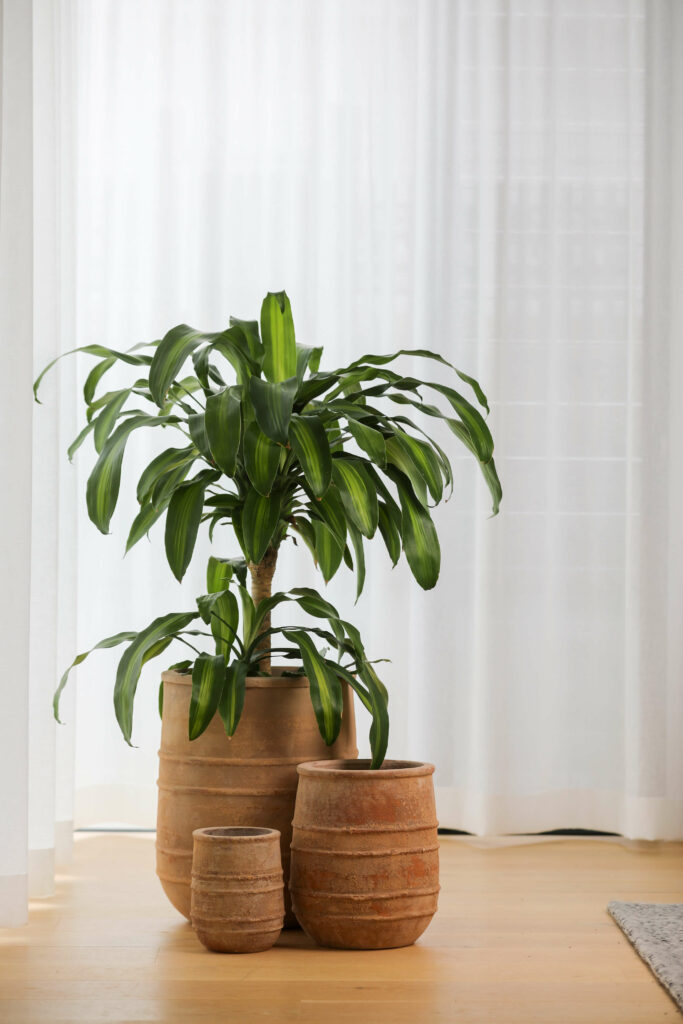
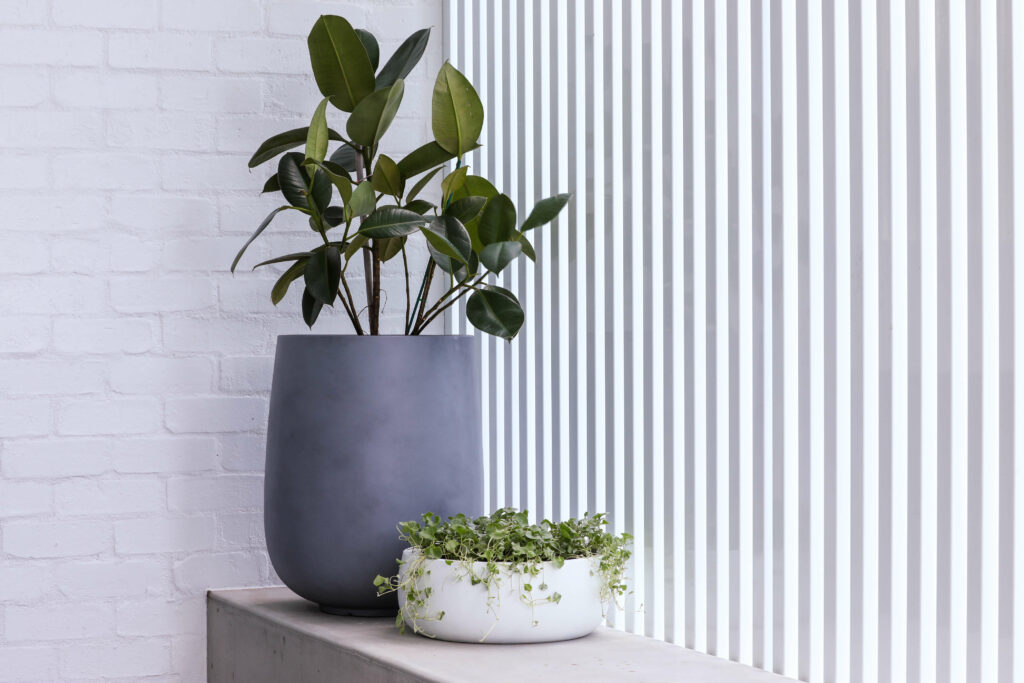
The first step is selecting pots and planter boxes that complement each other. Size is critical; pots that are too big or small can throw off the balance. As a rule of thumb, consider using a variety of sizes from tall, grounded planters to shallow, cascading bowls. Shapes should coordinate, featuring a mix of heights and widths. Material matters for both aesthetics and practicality—terra cotta for that natural, earthy feel, or matte finishes for a contemporary touch.
Drainage and Water Requirements
Each pot in your arrangement should have similar watering needs and require the same type of soil and drainage. This ensures that your plants thrive and maintenance is more manageable. To facilitate effective watering, ensure that each planter has a drainage hole or create a layer of gravel at the bottom of the pot to prevent root rot.
Step 2: Choosing a Location
Assess Available Space and Lighting Conditions
The area in which you place your clustered pots should be big enough to cater for growth but not so large that the grouping loses impact. Consider the amount of sunlight the area gets, as different plants require different lighting conditions. Utilise spots with varied levels of natural light throughout the day for a dynamic display.
The Overall Design and Desired Visual Impact
Think about the aesthetic you want to achieve—do you prefer a tightly packed, lush environment, or a more sparsely populated, structured look? The location of your pots can also serve functional purposes, such as creating day/night zones for plants with specific light needs or barriers for privacy.
Step 3: Creating a Cohesive Design
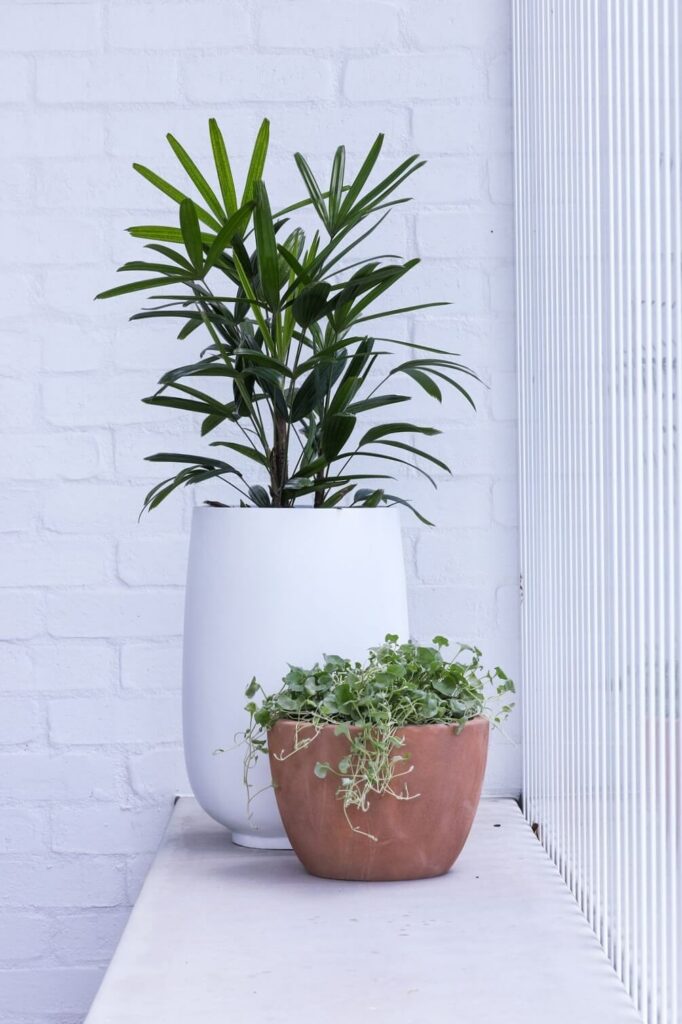
Select a Theme or Colour Scheme
Choose a theme or colour scheme that groups the pots and plants. This could be as simple as focusing on a single colour, or as elaborate as a specific style, such as our Ancient or Antique Terracotta ranges. Cohesion in design creates a harmonious effect, making the overall display more pleasing to the eye.
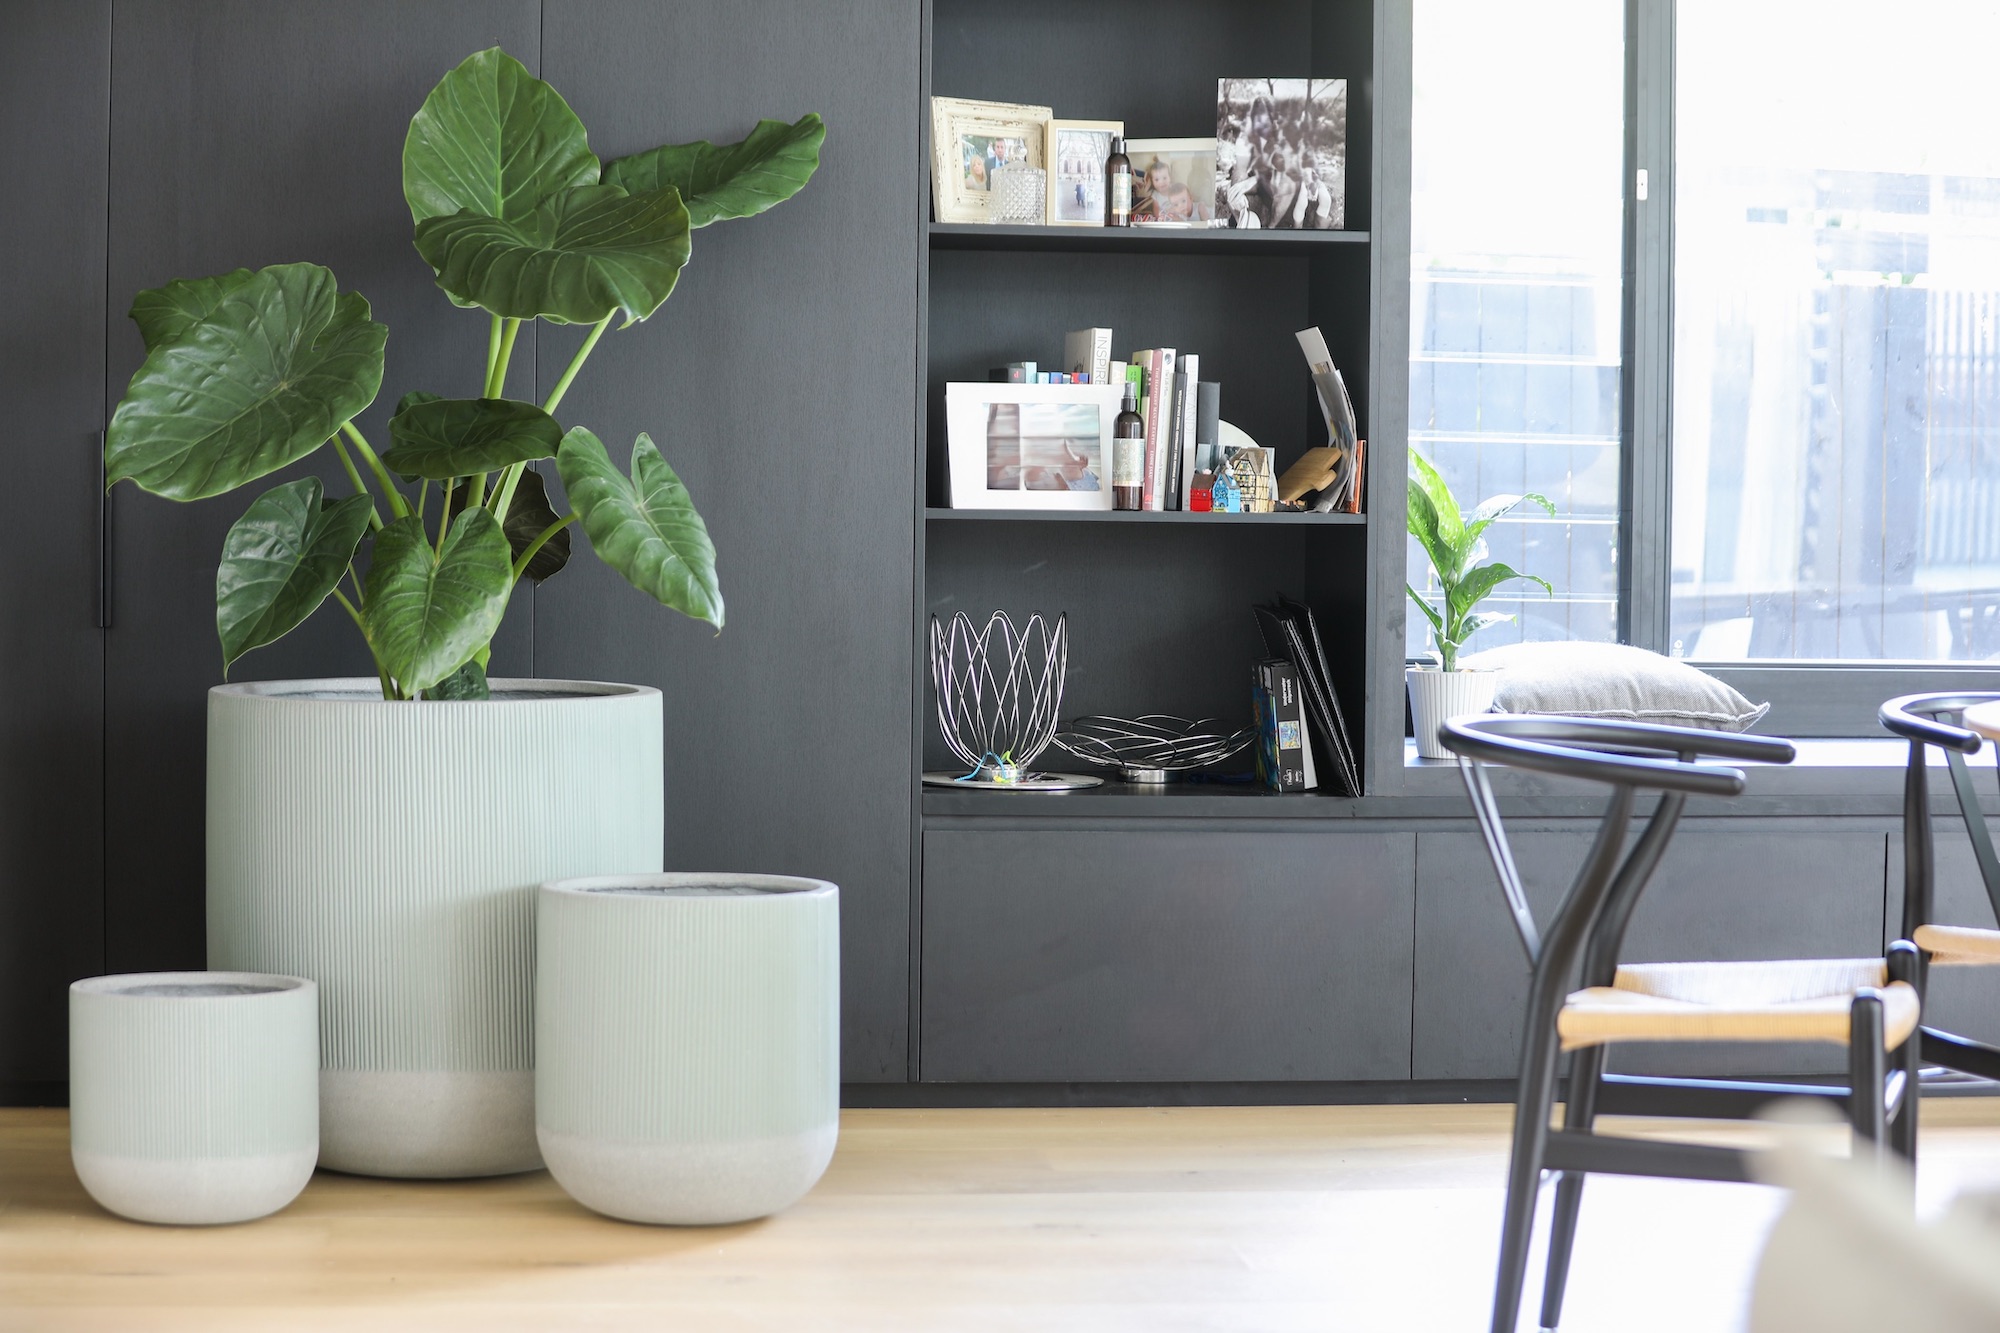
Experiment with Different Heights and Textures
Varying the heights and textures within your clusters adds a sense of depth and visual interest. Use taller pots at the back or off to the side to create a layered effect. Incorporate plants that range from low ground covers to vertical climbers and everything in between to showcase a diverse range of textures.
Incorporate Different Plant Varieties
The right mix of plants is essential for an interesting display. Combine different types of plants that flourish together and offer a unique blend of foliage, flowers, and seasonal changes. Be mindful of growth habits and plan for how the plants will fill in the space over time.
Step 4: Arranging the Clusters
Start with a Focal Point
Every well-designed cluster starts with a focal point. This could be a particularly beautiful plant, a striking combination of pots, or an architectural feature in your garden. All other elements in the arrangement should serve to highlight and complement this central feature.
Balance Proportion and Composition
Arrange larger or more ornate pots toward the back or centre of the grouping, and use smaller or simpler pots as accents. Groupings should be visually balanced, with pots of similar visual weights on either side. Remember to arrange them in a way that doesn’t obstruct the view or movement through the space.
Experiment with Different Arrangements and Groupings
Don’t be afraid to play around with the arrangements. Move things a few times before settling on the final composition. Try out different combinations of pots and plants until you find the one that looks just right. Stand back and view the grouping from different angles to ensure the design works well from every vantage point.
Step 5: Caring for Clustered Pots and Planter Boxes
Proper Watering and Drainage
An effective watering routine is essential. Keep an eye on the soil’s moisture levels and adjust the watering frequency as needed. Water that pools atop the soil is a sign that your planter doesn’t drain properly.
Regularly Monitor for Pests and Diseases
A clustered environment can sometimes lead to increased risk of pests and diseases spreading among the plants. Regular inspections can minimise these risks. If an issue is identified, take the necessary steps to isolate and treat affected plants as soon as possible.
Trim and Prune Plants as Needed
Pruning helps maintain the shape and size of the plants within your clusters. It also encourages healthy growth and blooming. Be sure to research the specific pruning needs of your plants, as over-pruning or doing so at the wrong time can be detrimental.
Most importantly, have fun
Creating thoughtful and beautiful cluster displays in your garden is a rewarding process, combining the love of design with the satisfaction of nurturing living things. But remember, the most important element in any garden design is the personal touch, if you don’t like something, change it. Remember that you will be looking at your garden far more frequently than anyone else, you have to enjoy it.
And finally, don’t stress if you feel overwhelmed. We have Nursery and Landscape partners who can help you with any project, big or small. Click here to find some help in your area.